Products
ProductsSolutionsApplications
Resources
Introduction
The D-Link M2M (Machine-to-Machine) router is an industrial-grade networking device designed to enable automated data communication between machines without human intervention. When integrated with Wi-Fi functionality, M2M routers can support wireless connectivity for devices in a wide range of IoT and industrial applications. Key Applications for M2M with wireless include Smart Transportation, Industrial Automation, and Smart Vending Machines.
Please note that this example is based on specific prerequisites and topology. D-Link does not guarantee compatibility with all platforms or clients.
Prerequisites
1. D-Link M2M wireless Router: This feature is applicable to M2M routers with Wi-Fi support including DWM-313, DWM-530-T, DWM-550-G, DOM-550-GSO, and DTM-550-G.
2. End Devices:
- At least one PC with wireless connectivity capabilities.
Network Topology

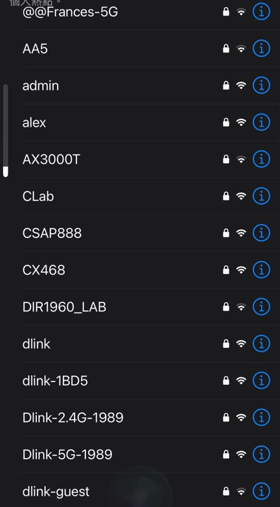
This topology diagram illustrates an M2M wireless application that ensures PC A can connect with the M2M wireless SSID: admin and access Internet services.
Wireless SSID Configuration
Prior to wireless configuration, verify the status of the WAN interface and ensure that the M2M router/gateway WAN interface has already secured Internet services.
Go to Status > Basic Network > WAN & Uplink tab

1. Go to Basic Network > Wi-Fi > Wi-Fi tab
2. Enable the Wi-Fi Module in 2.4GHz Wi-Fi Configuration
3. Click the Add in 2.4G VAP List to add the SSID
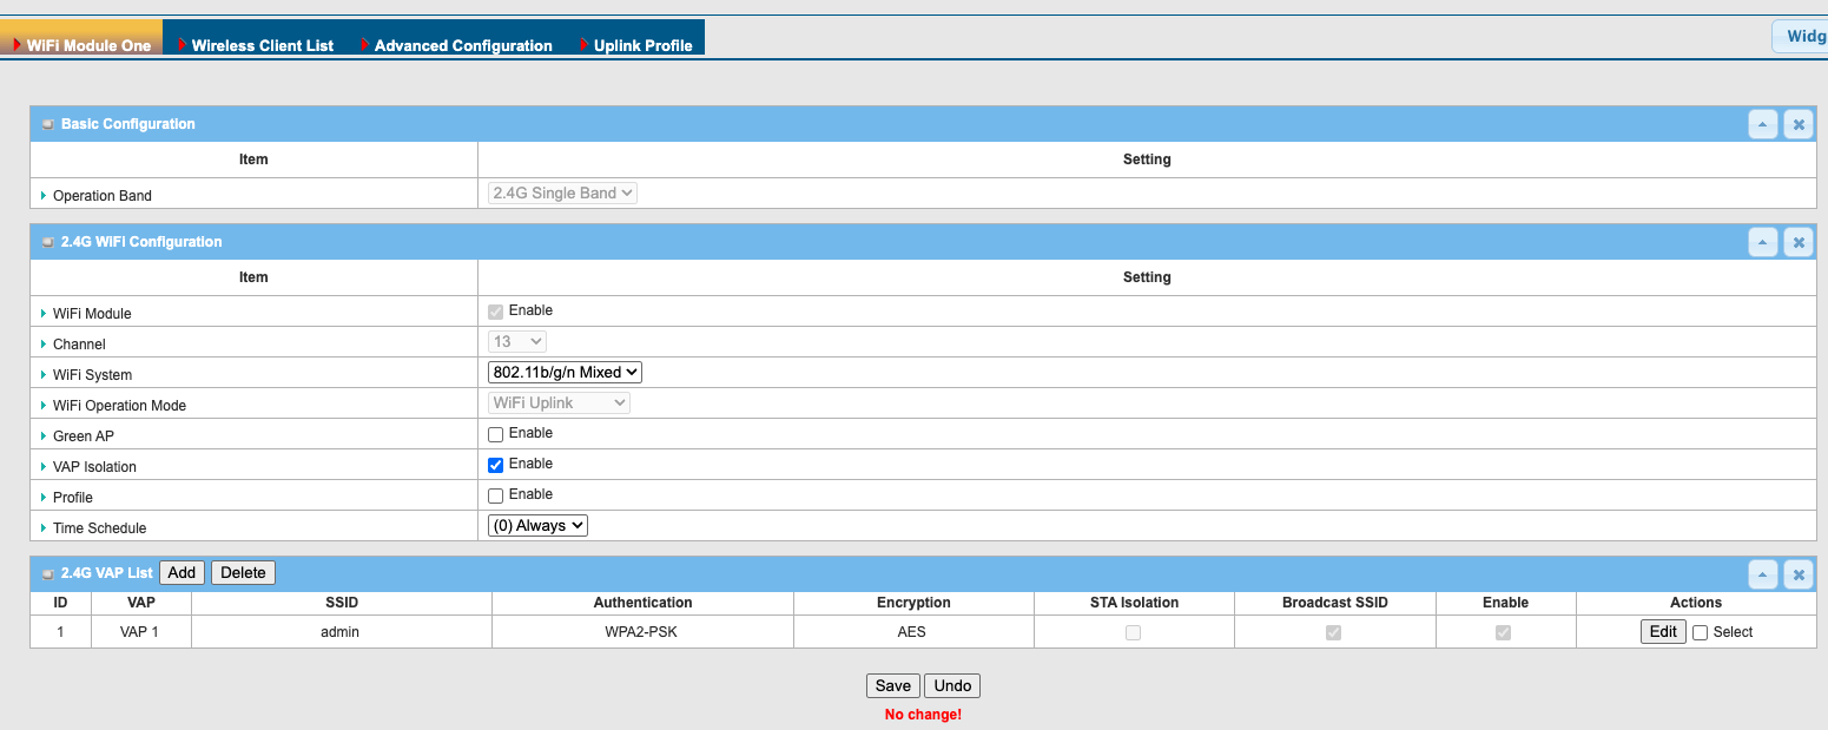
| Item | Descrption |
|---|---|
| SSID | admin |
| Max. STA | Keep unchecked |
| Authentication | WPA2-PSK |
| Encryption | AES and set the security |
| STA Isolation | Check the box |
| Broadcast SSID | The box is checked by default |
| Enable | The box is checked by default |
Note: It is strongly recommended to change the default SSID name and password for better security.
4. The D-Link M2M device enables the configuration of up to eight SSIDs per device. To set up an additional SSID, please refer to step 3 for the necessary steps.
5. After configuration, remember to click apply to apply settings.
Test Result
1. Following the configuration steps outlined above, you can proceed with verification to ensure proper functionality.
2. In PC A, connect to the SSID: admin with the password 1234567890
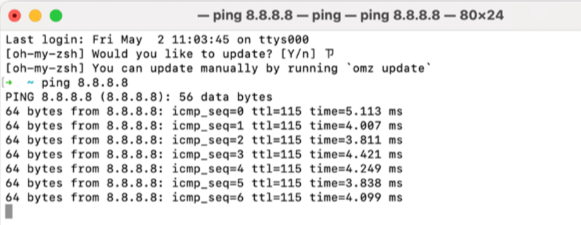
3. Following connection, PC A is permitted to ping 8.8.8.8.